
300x600

THE BEST 4 SOURDOUGH BREAD EASY RECIPES
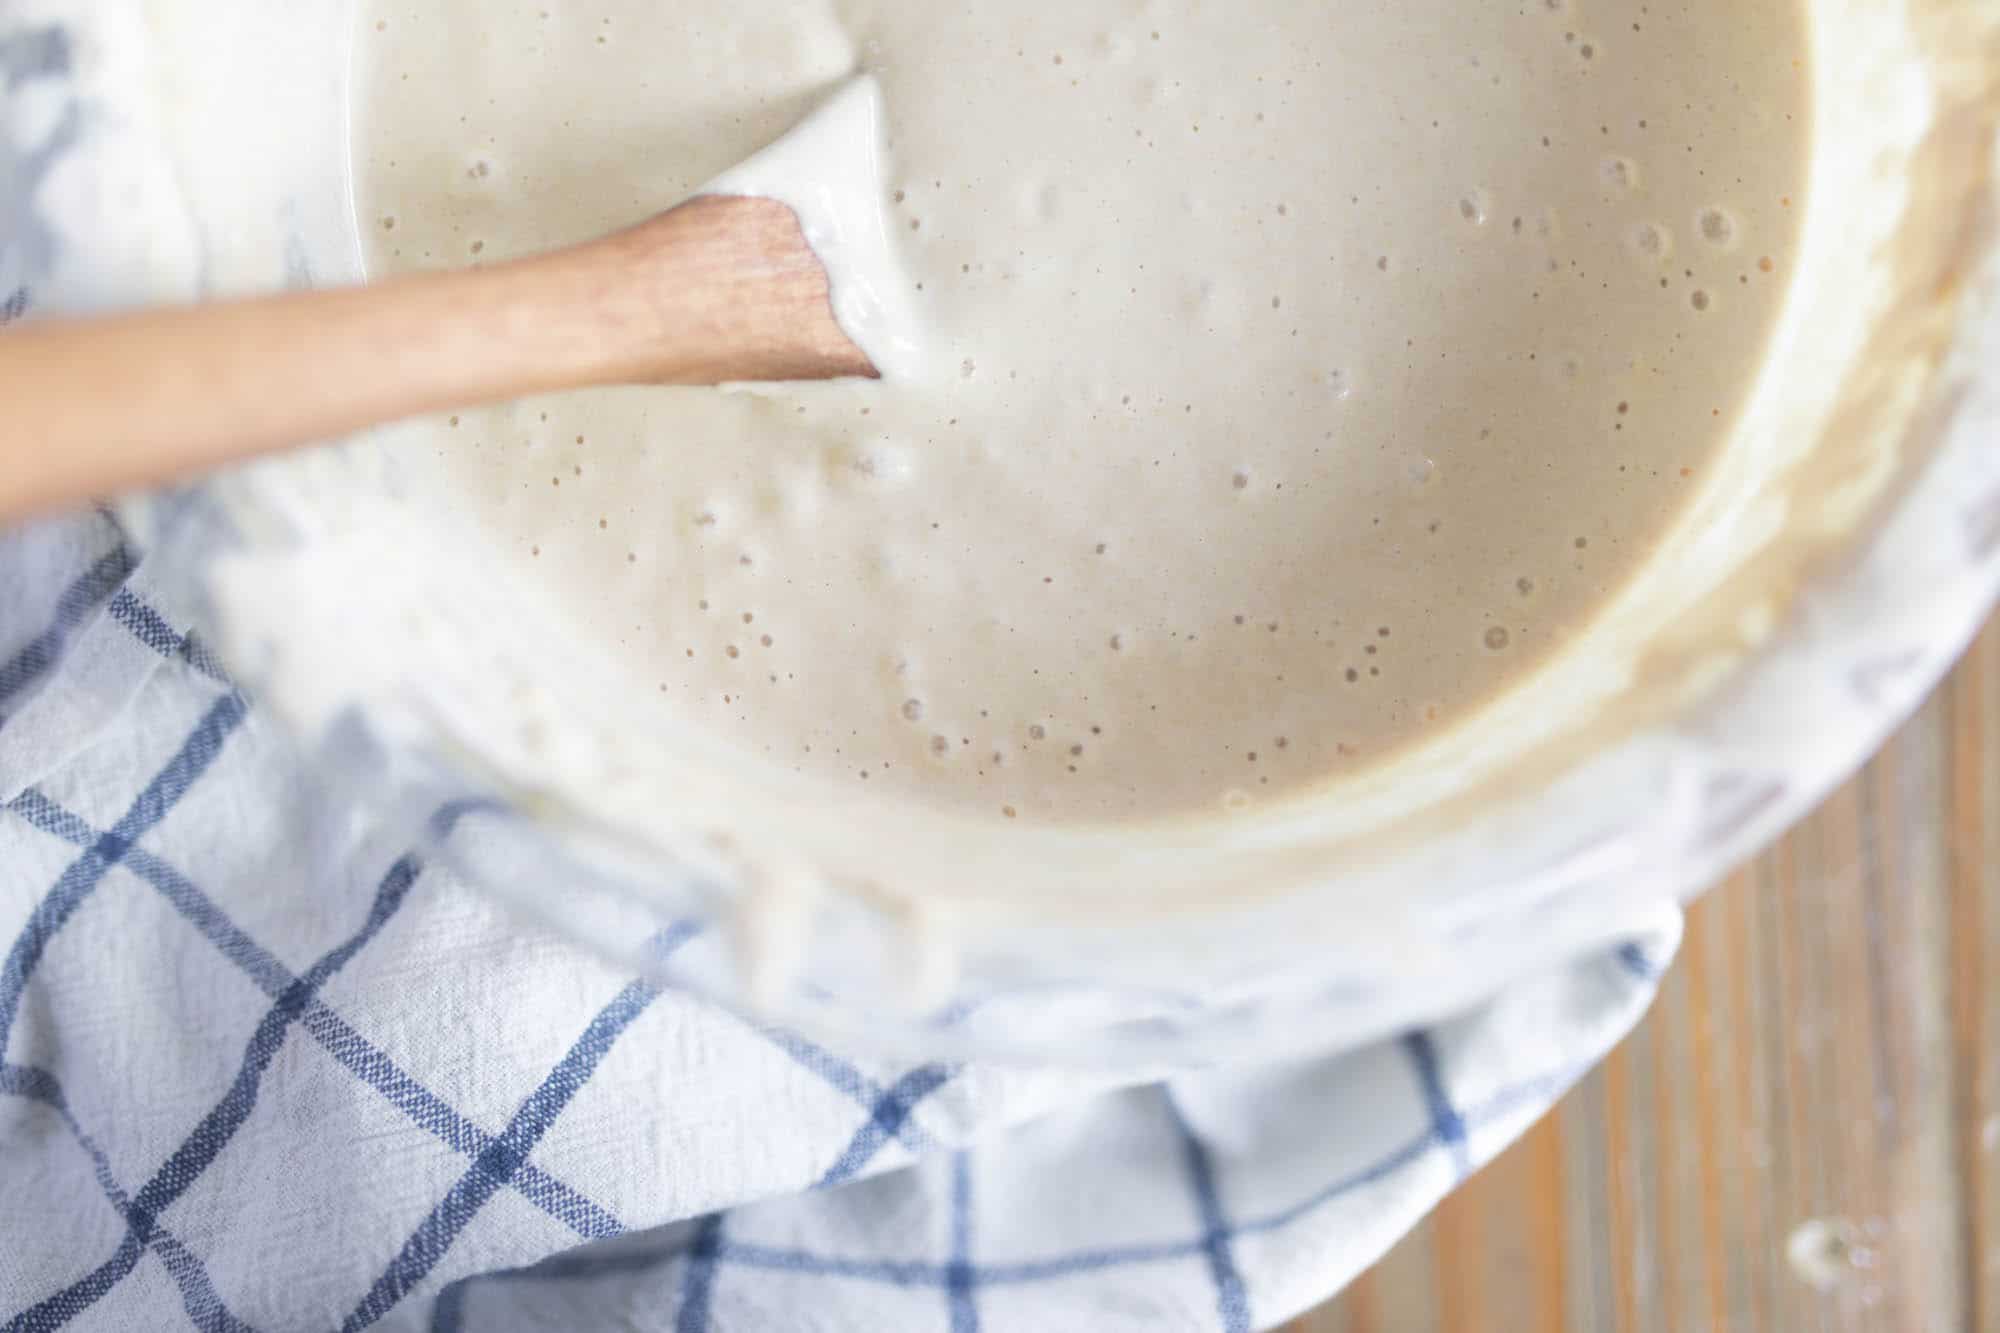
1# Sourdough Starter From Scratch
Learn how to make a homemade sourdough starter from scratch. Video tutorial also includes sourdough health benefits and our favorite ways to use sourdough starter in the farmhouse.
INGREDIENTS
- Flour (Whole grain wheat, unbleached all purpose, and einkorn are all great choices.)
- Filtered water
INSTRUCTIONS
- On day one, mix one cup of flour and one cup filtered water. Stir vigorously, making sure to scrape down the sides and incorporate everything. Place a clean tea towel over the bowl and set aside. Allow it to sit for 24 hours.
- On day two, discard half of the mixture and repeat the process. Add one cup flour, one cup water, stir vigorously, and cover.
- Why do you have to remove half the mixture? By day four, you would have sourdough starter overflowing from your bowl. Also, removing half ensures the right amount of flour and water is feeding the growing colony of beneficial yeast. If you weren’t discarding half, the half cup of flour wouldn’t be enough to feed them on days three and four. Basically, you would end up with a lot of extra starter by the end of the process, and none of it mature.
- Repeat the day two instructions for days three, four, and five.
- On days six and seven, do the same but feed it every 12 hours, instead of every 24.
- By day seven, there should be enough beneficial bacteria and yeast present to bake sourdough bread and other fermented sourdough goodies, like pancakes and english muffins.
- You will know it’s working if it bubbles, and doubles in size.
- SOURDOUGH STARTER MAINTENANCE Once your sourdough starter is alive and active, there will be some maintenance to keep it going for years and years.
- IN THE REFRIGERATOR FOR OCCASIONAL USE Storing it in the refrigerator slows down the fermentation process, so one feeding every week, or every other week, is sufficient.
- I usually use my starter a couple times per week. If I plan to make pancakes Saturday morning, for example, I pull my starter out of the fridge Friday morning and add flour and water. By Saturday morning it is bubbly and ready to go. I remove the two cups of starter needed for my pancake recipe and put the “master starter” back in the fridge. Since it was fed the day before, it is good to go for another week, or whenever I need it next.
- ON THE COUNTER FOR DAILY USE Since the “little guys”, as my kids like to call the bacteria in the starter, are active at room temperature, they will have to be fed more often if kept in this state.
- If you leave your starter out on the counter, you will need to add flour and water every day. You will also have to be baking daily to use up all that starter.
- Most people probably won’t use the starter quite so much, unless you own and operate a bakery. I would recommend storing it in the refrigerator between uses.
This article adapted from this site
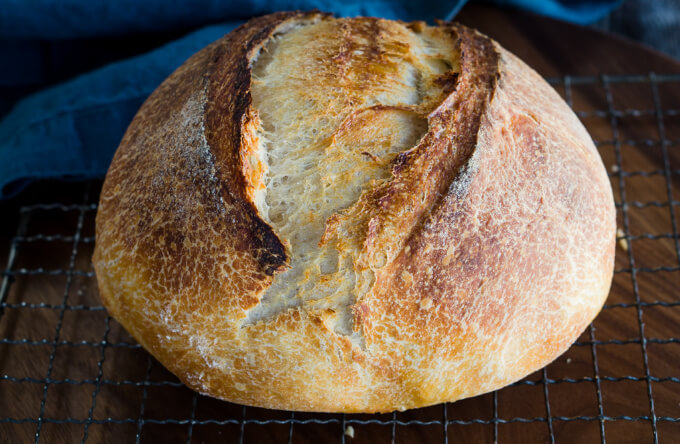
2# Overnight Sourdough Bread Recipe
Overnight Sourdough Bread recipe is a great basic recipe to make if you are just getting started baking Sourdough bread or have been at it for years.
Prep Time 8 hrs
Cook Time 40 mins
Overnight rest 8 hrs
Total Time 8 hrs 40 mins
Servings1 8 slices
AuthorJulie Menghini
Ingredients
- 150 g bubbly starter
- 285 g *purified water or filtered water at room temperature
- 500 g bread flour organic
- 9 g sea salt fine
Instructions
- Squelch all of the ingredients together briefly (just for a minute is enough) with your hand. Cover the bowl with plastic wrap and let the dough rest for 30 minutes.
- Stretch and fold the dough into the bowl several times for about a minute. Cover and leave it out on the counter overnight. In the morning it will have doubled in volume at least.
- Pre-heat the oven to 240/250C (I preheat to 475°F and place your lidded pot inside to heat up. You can use an enamel dutch oven or aluminum roaster. You can also put the dough into a cold pot.
- Dust your counter with flour. I use a rimmed baking sheet lined with parchment paper and then dusted with rice flour. It makes it easy to pick up the dough. Scrape the dough out onto the counter. Don’t punch it down. You want to keep as many of those bubbles as you can.
- Pull the outside thirds into the middle and shape as you wish. Try to pull the outside of the dough as tightly as possible so it will hold its shape well. I shaped mine into a ball also known as a boule.
- Cover with some oiled plastic wrap loosely. Allow the dough to rest for 30 minutes. Set the timer as this is the only proofing that should NOT be overdone.
- Remove the plastic wrap and slash with a sharp knife or lame.
- Carefully remove the pot from the oven and remove the lid. Carefully place the dough into the pot. I lift mine by the edges of the parchment paper and put the whole thing into the pot. Replace the lid and place in the oven.
- Reduce the heat to 220C (425°F convection). Bake for 20 minutes. Remove the lid and bake for an additional 20 to 25 minutes.
- Immediately remove from the pot and cool on a cooling rack completely before slicing.
Notes
*Start with 285g of water but if the dough is too dry add up to an additional 15g.
- If you want to mix bread earlier in the day. After rising for 8 hours at room temperature, set the covered dough in the refrigerator and bake the next day. Remove the dough from the refrigerator to sit out while the oven preheats.
- Feed earlier in the day. When it’s bubbly do the test float. If it’s runny it’s used up all it’s energy and needs to be fed again before you can use it. To see if your starter is ready, put a small amount in a bowl or cup of water. If it floats it’s ready!
- Your bread can be cooked in a cold dutch oven but I like the color and rise I get from preheating my lidded pot.
- This bread freezes beautifully. I wrap it in plastic wrap or a ziplock bag and then heavy-duty foil.
Nutrition
Calories: 100kcal | Carbohydrates: 20g | Protein: 3g | Sodium: 195mg | Potassium: 27mg | Calcium: 4mg | Iron: 0.3mg
This article adapted from this site
3# Easy No Knead Bread (Dutch Oven Bread)
Easy Dutch Oven No Knead Bread recipe is made with only 4 ingredients and takes 5 minutes of prep time! If you want to make delicious homemade bread that looks & tastes like it came from a fancy bakery but actually takes very little effort, this dutch oven bread recipe is for you!

Coursebread, Side Dish
CuisineAmerican
Prep Time 5 minutes
Cook Time 45 minutes
Overnight Rising 1 day
Total Time1 day 55 minutes
Servings1 loaf (10 people)
Calories 121kcal
Author Laura
Equipment
Dutch Oven (2 3/4 Quart)
Ingredients
- 3 cups all-purpose flour
- 2 tsp active dry yeast
- 1 ½ tsp sea salt
- 1 ½ cups warm water 105 degrees F
Instructions
- Combine the flour, yeast, and salt in a large bowl and stir to combine.
- Add the water and mix until the dough forms a ball.
- Cover the bowl with plastic wrap (sprayed with cooking spray) and a damp tea towel.
- Let dough sit covered at room temperature for 18-24 hours.
- After 24 hours (or at least 1 hour before you want to serve) preheat the oven to 450 degrees F.
- Place a 2 3/4 quart dutch oven (or a 2.4L baking dish) with a lid in the oven while it is preheating. (Note: Readers have used a 5 qt. dutch oven with success).
- While oven is preheating, transfer the dough from the bowl onto a floured surface.
- Form the dough into a ball, adding a few TBS more flour if needed. The dough should still be slightly loose. Then cover it with a floured towel while the oven is preheating. (Important note: The dough ball will be loose and "floppy." That is how it should be as this is a very moist bread which is what makes it so irresistible. You will not have a firm ball, it will look a little flat).
- Carefully remove the hot baking dish from the oven. Remove the lid and spray the dish with cooking spray or line it with parchment paper.
- Gently put the dough ball into the baking dish so it’s evenly distributed.
- Cover and bake for 30 minutes.
- Remove the lid and bake for an additional 15 minutes, or until the loaf is golden brown.
- Remove the loaf from the baking dish and let it cool on a rack before slicing. To keep it warm, cover with a tea towel.
Notes
- All-purpose flour. You can replace up to 1 cup of the flour with white whole wheat flour, but I don't recommend making any other changes. This dutch oven bread is best when made with all-purpose flour.
- Sea salt. I recommend pure, fine sea salt for the best outcome!
- Yeast. Active dry yeast is the best choice for this no knead bread recipe, however you can use rapid rise yeast but you will still need to let it rise overnight.
- Water. Make sure to use warm water (105 degrees). It should feel warm to the touch but not hot.
- Optional mix-ins. If you'd like to create fun varieties, try mixing in parmesan cheese, fresh herbs, roasted garlic, etc.
Nutrition
Serving: 1slice | Calories: 121kcal | Carbohydrates: 26g | Protein: 3.8g | Sodium: 212mg | Potassium: 49mg | Fiber: 1.2g | Calcium: 2mg | Iron: 1.4mg
This article adapted from this site
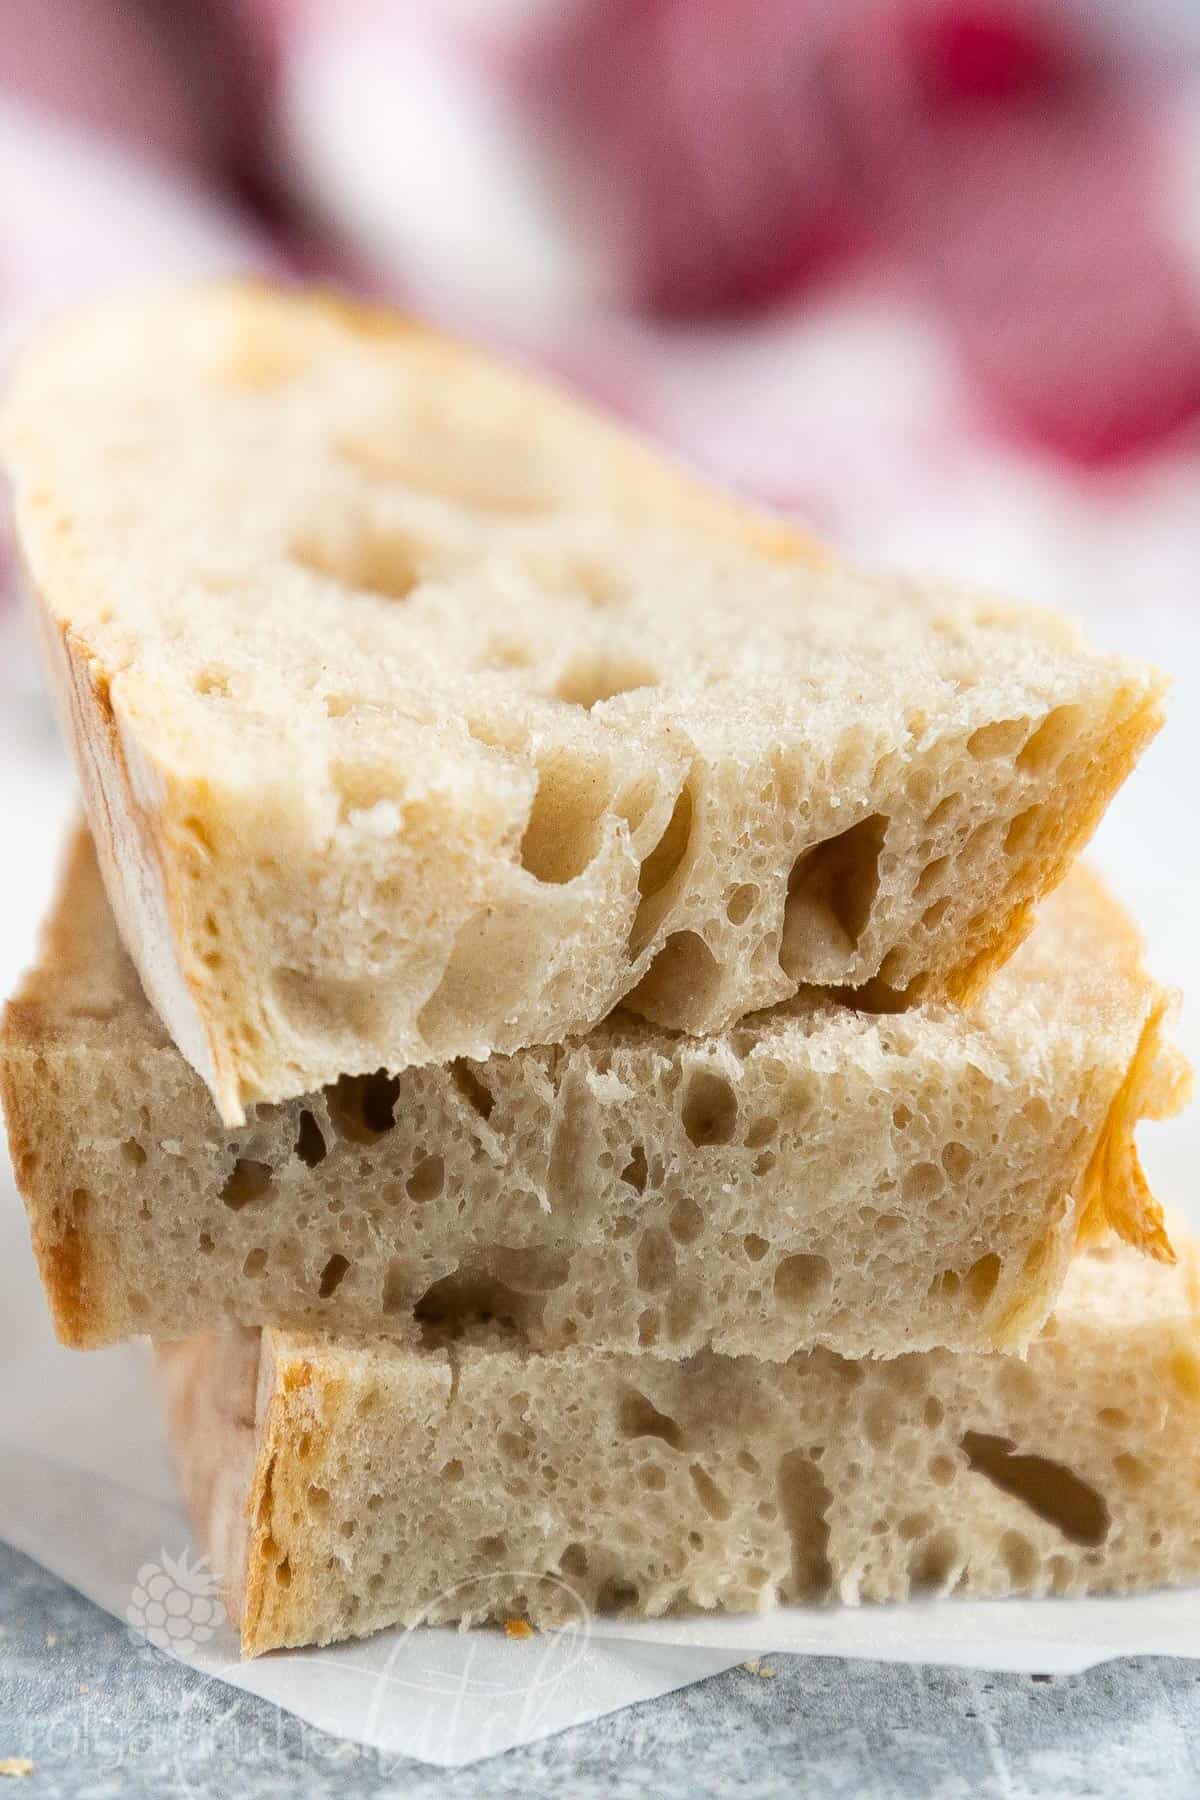
4# Easy No-Knead Bread
Author: Olga in the Kitchen Servings: 1 loaf Prep Time: 18 hours Cook Time: 45 minutes Total Time: 18 hours 45 minutes
This easy No-Knead Bread loaf has a deliciously crisp crust and a soft spongy center. It’s the perfect blend of soft and chewy. With only 4 ingredients (flour, salt, yeast and water), you can make a bakery-quality, scrumptious loaf of homemade bread.
Ingredients
- 3 cups all-purpose flour
- 1 teaspoon fine salt (for saltier, do 1 1/2 tsp)
- 1/2 teaspoon instant dry yeast
- 1 1/2 cups warm water (100-110°F)
Instructions
- In a glass measuring cup, combine to dissolve 1 1/2 cups warm water and 1/2 tsp instant dry yeast. Let it sit 2-3 mins.
- Into a large mixing bowl, sift 3 cups all-purpose flour and add 1 tsp fine salt. Whisk to combine.
- Pour in the water mixture and use a wooden spoon to stir until all of the flour is incorporated (do not knead). The dough will be very sticky, but do not add additional flour.
- Cover the bowl with a plastic food wrap and let the dough rest on your counter or inside your unheated over for 18 hours to 24 hours.
- Place an empty dutch oven and lid inside the oven and preheat the oven to 450°F. Once preheated, remove dutch oven and place on the stove. Be careful not to touch the dutch oven or lid without oven mitts because it will be extremely hot.
- Meanwhile, generously dust a cutting board or work surface with flour. Using a rubber spatula, scrape the dough out (which will be very thin and sticky) onto the floured surface. With help of pastry scraper or well-floured hands, shape the dough by folding the dough in half and then fold in half again, pulling the dough together into a loose ball.
- Sprinkle the bottom of the dutch oven with flour or cornmeal and carefully place (or drop) the bread in the center of your hot dutch oven. Cover with lid and bake for 30 minutes at 450°F. Carefully remove hot lid and bake for another 15 minutes to 20 minutes until golden brown.
- Remove the bread from the pot (it should fall out easily) and place directly on wire rack to cool completely until it’s nearly room temperature before slicing it.
Recipe Notes
- Use warm water – between 100°F to 110°F. Avoid using hot water or it will deactivate the yeast.
- Substitute for active yeast – instant dry yeast can be replaced for active dry yeast. Use 3/4 teaspoon active dry yeast in this recipe.
- Measure correctly – spoon flour into a measuring cup and level off the top with the back of a knife.
- Rising the dough – draft-free room temperature, unheated oven or turned off microwave. Avoid placing dough into hot oven to rise. Hot temperature will deactivate and ruin the yeast.
- For round, less flat bread – use a 4qt or 5 qt dutch oven so that the bread rises upwards, rather than spreading out over the entire surface of bigger pot.
- Preheat the oven and dutch oven – placing the bread into hot dutch will help form a beautiful crust.
- Flour the dutch oven – to make sure your bread doesn’t stick to the pot, sprinkle flour or cornmeal on the bottom of the preheated pot.
- Cool bread before slicing – always wait for hot bread to cool to room temperature before slicing. Cutting hot bread will release too much steam and the bread will become gummy.
This article adapted from this site


0 Comments